Editor’s Note: This install guide was provided by our friend Luca Castiglione. He has built his 2007 Subaru Impreza WRX with MaXpeedingRods adjustable coilover. In this article, he shared with us his experience in the whole project.
Tools you will need will be a ratchet, 19mm regular socket (deep socket recommended), 12mm regular socket, 19mm wrench, WD-40 or some types of lubricant to remove bolts (applies only to cars with rusted bolts) and a spanner that comes with your coilovers from MaXpeedingRods.
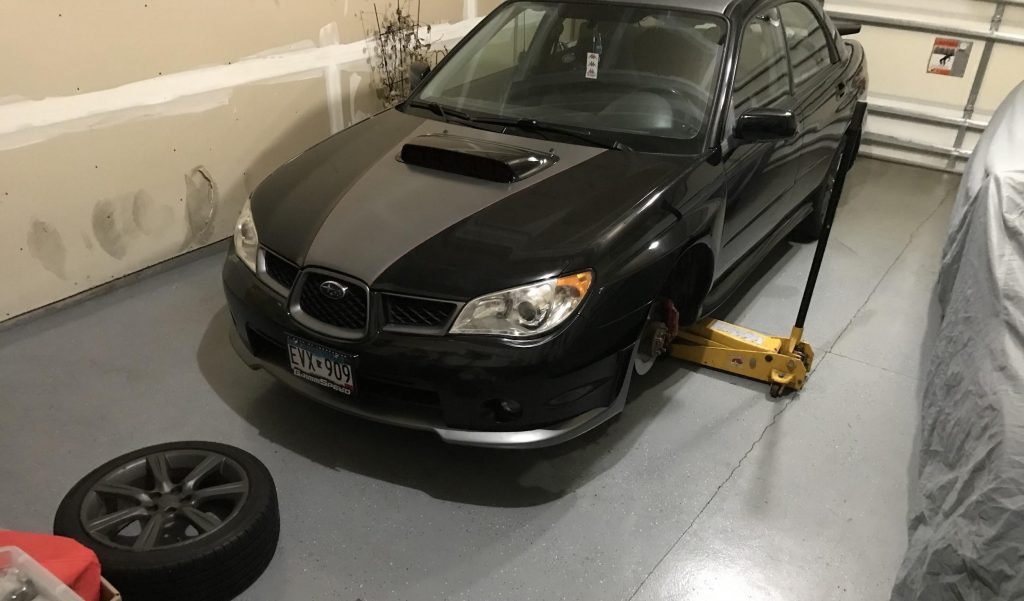
Install is not too complicated though, before commencing the installation process make sure to have all of your tools. Once you have all your tools and ready to install, make sure your car is lifted up safely with a Jack stand. Once your car is safely lifted up with the jack stand it should look like the picture below.
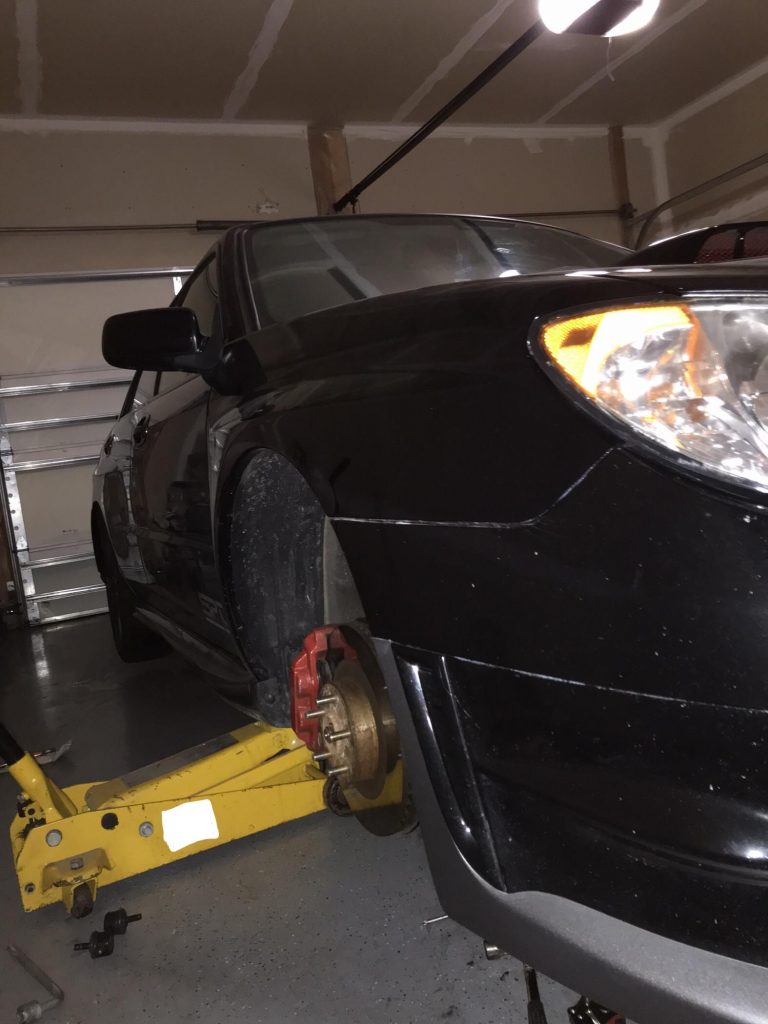
Now to begin the installation. Use the spanner to loosen the lock nut located at the bottom of the coilover. When loosening the lock nut you are able to adjust the height of the coilover. Make sure you use a ruler or tape measure for reference. I left the coilover at normal height, which I found very nice.
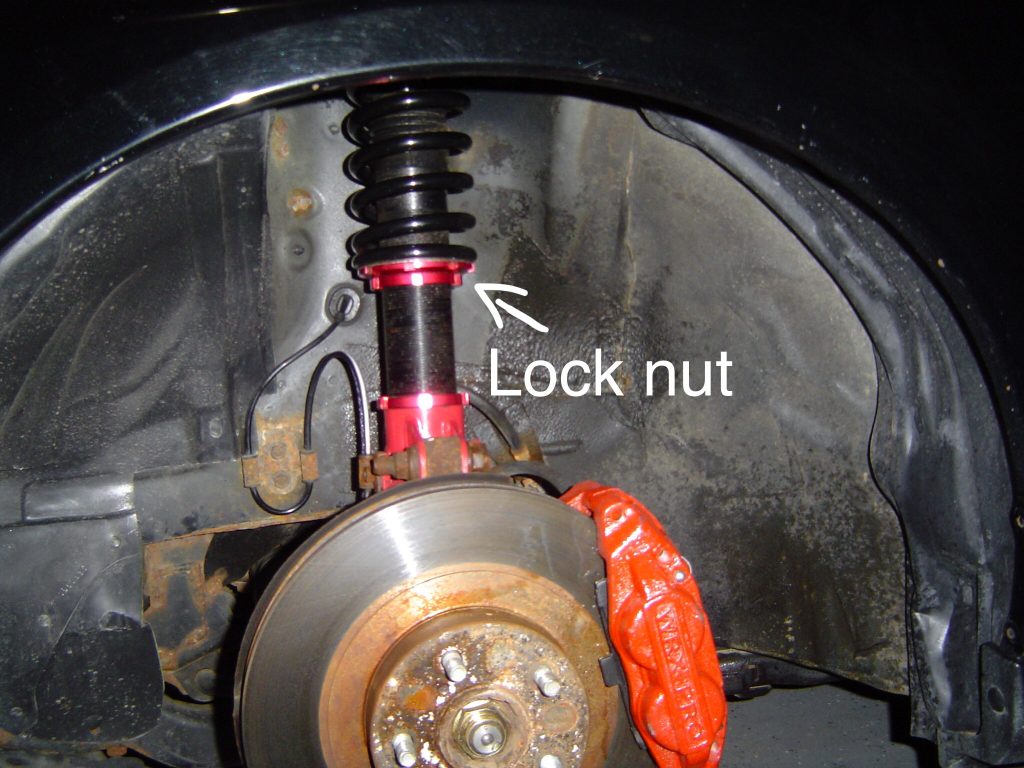
When you have set the coilover to your preferred height, remove the screws that are screwed on to the top mount (top of the coilover, shaped like a triangle) using a 12 mm deep socket and then line it up with the strut tower, as you can see in the picture below the triangle-shaped piece also known as the top mount.
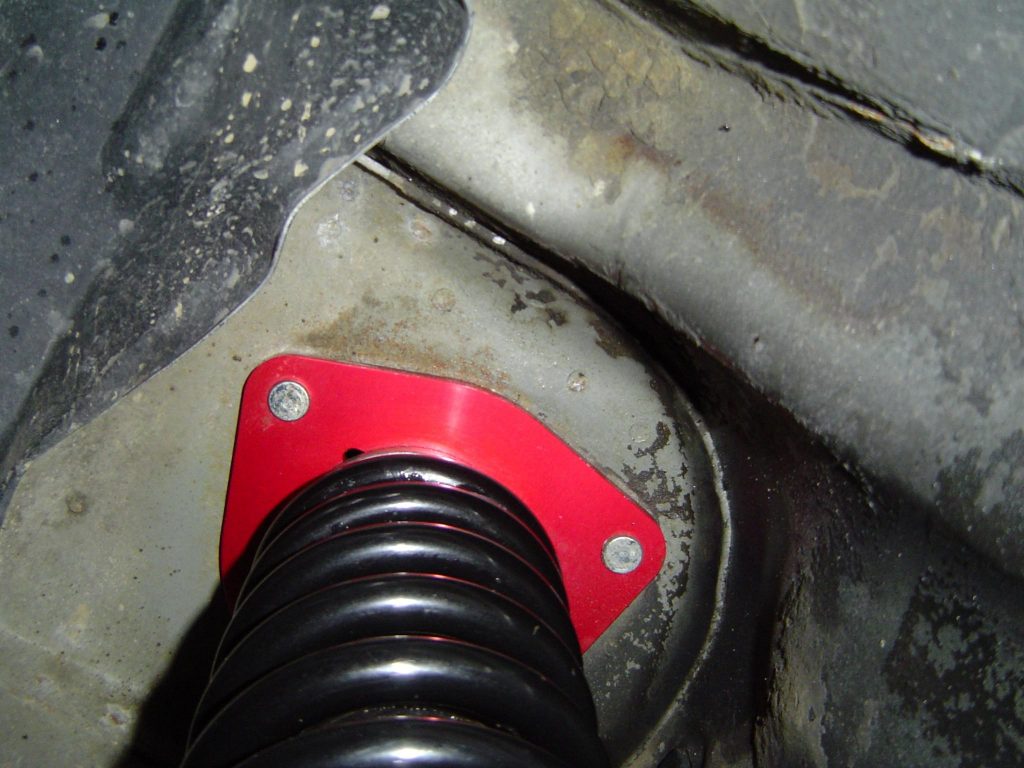
Once the top mount and coilover have been fitted onto the strut tower, make sure that the slots on the coilover are parallel to the firewall (look at the image below). Grab the 12 mm screws and screw them back onto the coilover and make sure that the coilover has a flush fitting and is tightly installed on the car.
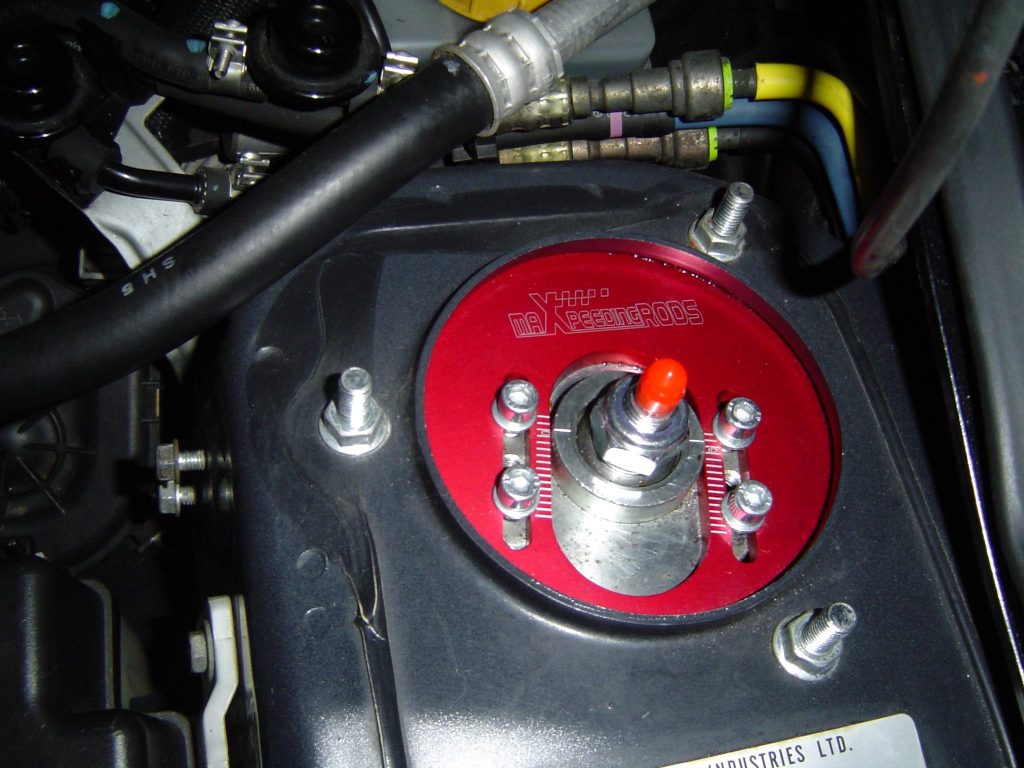
After the top mount install is finished, continue onto the bottom half of the install, grab your ratchet with your 19mm socket as well as your 19mm wrench to screw on the 19mm screw and bolt to tightly secure the lower mount onto the car. Once the top mount is securely screwed on, make sure to securely clamp on the brake line with the OEM bolts.
Once finished with installing the coilover, make sure all coilovers are set to the same height, and if not, make sure that both the front driver-side coilover and front passenger-side coilover are set to the same height, and the rear driver-side coilover and rear passenger-side coilover are the same height, so it can ride smoothly and efficiently.
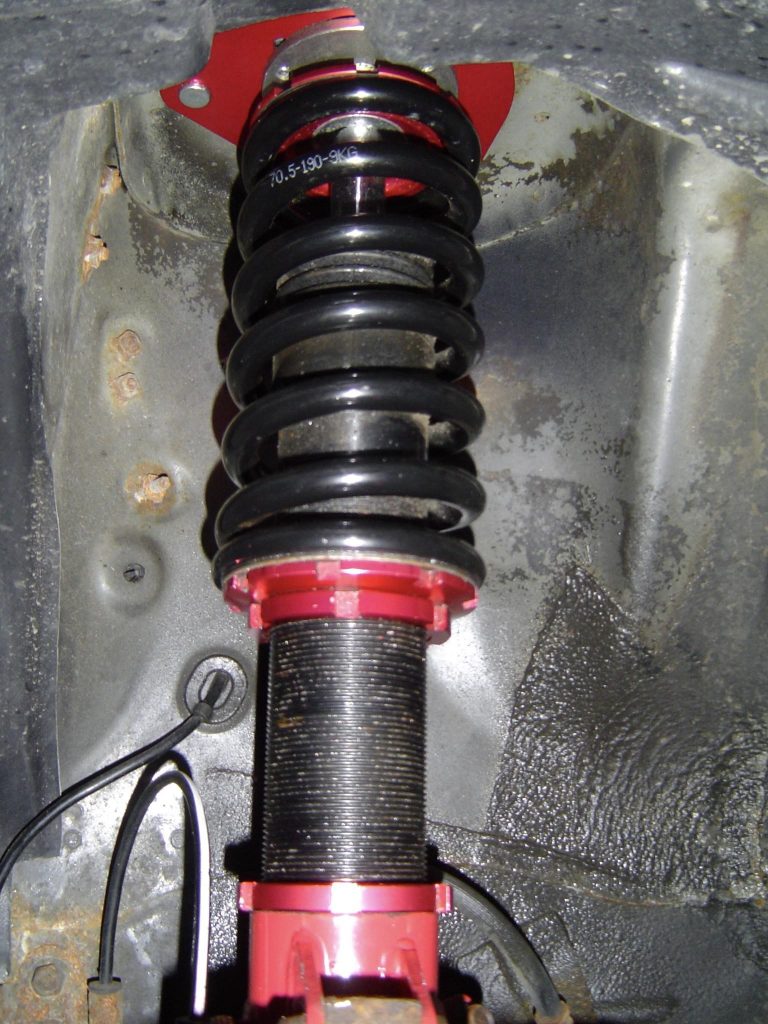
When you are done with the height, place the wheels back onto the car and lower it down back onto the ground. Grab a tape measure and measure the height of all the wheels to assure once again that the car is at the correct height. Before taking the car on a test drive, make sure to check your surroundings for any spare parts. Also, try and move the car around to make sure that the coilovers are installed properly and not loose.
If you desire to do any type of camber adjustment, please seek help for professional adjustment, as an incorrectly adjusted camber can damage suspension and compromise the driveability of the car. If not getting professional assistance, make sure to have a professional adjustment tool as well as knowledge in regards to camber adjustment.
The 2002-2007 Subaru Impreza WRX MaXpeedingRods adjustable coilover shock struts provide a great amount of quality and durability along with reliability at a great price.
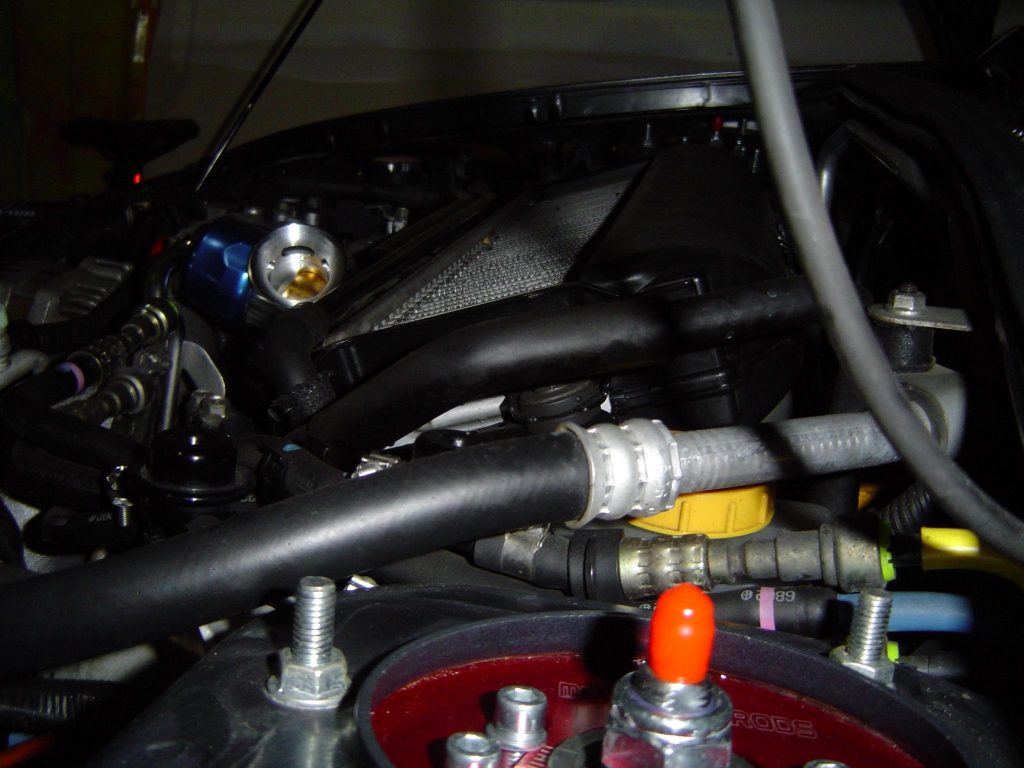
The shock struts were my preference due to me daily driving my car, facing more bumpy roads in the area where I live, I personally find it to be the best of both worlds, it offers great performance and handling as well as a really smooth ride that can handle your everyday bumps and potholes. For someone looking for a nicer stance on their daily car along with good handling, it’s the best choice for you. Please check the link for more amazing products as well as the MaXpeedingRods adjustable coilover for 2002-2007 Subaru Impreza WRX.


 (1) 213-459-3517

.jpg?x-oss-process=image/auto-orient,1/quality,q_100/resize,m_mfit,w_1000,h_1000)

.jpg?x-oss-process=image/auto-orient,1/quality,q_100/resize,m_mfit,w_1000,h_1000)
.jpg?x-oss-process=image/auto-orient,1/quality,q_100/resize,m_mfit,w_1000,h_1000)
.jpg?x-oss-process=image/auto-orient,1/quality,q_100/resize,m_mfit,w_1000,h_1000)
.jpg?x-oss-process=image/auto-orient,1/quality,q_100/resize,m_mfit,w_1000,h_1000)
.jpg?x-oss-process=image/auto-orient,1/quality,q_100/resize,m_mfit,w_1000,h_1000)
.jpg?x-oss-process=image/auto-orient,1/quality,q_100/resize,m_mfit,w_1000,h_1000)
.jpg?x-oss-process=image/auto-orient,1/quality,q_100/resize,m_mfit,w_1000,h_1000)
.jpg?x-oss-process=image/auto-orient,1/quality,q_100/resize,m_mfit,w_1000,h_1000)
.jpg?x-oss-process=image/auto-orient,1/quality,q_100/resize,m_mfit,w_1000,h_1000)


.png?x-oss-process=image/auto-orient,1/quality,q_100/resize,m_mfit,w_170,h_170)


.jpg?x-oss-process=image/auto-orient,1/quality,q_100/resize,m_mfit,w_350,h_350)
.jpg?x-oss-process=image/auto-orient,1/quality,q_100/resize,m_mfit,w_350,h_350)
@001.jpg?x-oss-process=image/auto-orient,1/quality,q_100/resize,m_mfit,w_350,h_350)
.jpg?x-oss-process=image/auto-orient,1/quality,q_100/resize,m_mfit,w_350,h_350)
.jpg?x-oss-process=image/auto-orient,1/quality,q_100/resize,m_mfit,w_350,h_350)
.jpg?x-oss-process=image/auto-orient,1/quality,q_100/resize,m_mfit,w_350,h_350)
.jpg?x-oss-process=image/auto-orient,1/quality,q_100/resize,m_mfit,w_350,h_350)
.jpg?x-oss-process=image/auto-orient,1/quality,q_100/resize,m_mfit,w_350,h_350)

.jpg?x-oss-process=image/auto-orient,1/quality,q_100/resize,m_mfit,w_350,h_350)

.jpg?x-oss-process=image/auto-orient,1/quality,q_100/resize,m_mfit,w_350,h_350)


