(1) 213-459-3517

.jpg?x-oss-process=image/auto-orient,1/quality,q_100/resize,m_mfit,w_1000,h_1000 "Maxpeedingrods 24 Way Damper Coilover Shock Strut compatible for BMW 3 2-door Convertible (E46) 00-07 lowering kit")
 00-07 lowering kit")
.jpg?x-oss-process=image/auto-orient,1/quality,q_100/resize,m_mfit,w_1000,h_1000 "Maxpeedingrods 24 Way Damper Coilover Shock Strut compatible for BMW 3 2-door Convertible (E46) 00-07 lowering kit")
.jpg?x-oss-process=image/auto-orient,1/quality,q_100/resize,m_mfit,w_1000,h_1000 "Maxpeedingrods 24 Way Damper Coilover Shock Strut compatible for BMW 3 2-door Convertible (E46) 00-07 lowering kit")
.jpg?x-oss-process=image/auto-orient,1/quality,q_100/resize,m_mfit,w_1000,h_1000 "Maxpeedingrods 24 Way Damper Coilover Shock Strut compatible for BMW 3 2-door Convertible (E46) 00-07 lowering kit")
.jpg?x-oss-process=image/auto-orient,1/quality,q_100/resize,m_mfit,w_1000,h_1000 "Maxpeedingrods 24 Way Damper Coilover Shock Strut compatible for BMW 3 2-door Convertible (E46) 00-07 lowering kit")
.jpg?x-oss-process=image/auto-orient,1/quality,q_100/resize,m_mfit,w_1000,h_1000 "Maxpeedingrods 24 Way Damper Coilover Shock Strut compatible for BMW 3 2-door Convertible (E46) 00-07 lowering kit")
.jpg?x-oss-process=image/auto-orient,1/quality,q_100/resize,m_mfit,w_1000,h_1000 "Maxpeedingrods 24 Way Damper Coilover Shock Strut compatible for BMW 3 2-door Convertible (E46) 00-07 lowering kit")
.jpg?x-oss-process=image/auto-orient,1/quality,q_100/resize,m_mfit,w_1000,h_1000 "Maxpeedingrods 24 Way Damper Coilover Shock Strut compatible for BMW 3 2-door Convertible (E46) 00-07 lowering kit")
.jpg?x-oss-process=image/auto-orient,1/quality,q_100/resize,m_mfit,w_1000,h_1000 "Maxpeedingrods 24 Way Damper Coilover Shock Strut compatible for BMW 3 2-door Convertible (E46) 00-07 lowering kit")
.jpg?x-oss-process=image/auto-orient,1/quality,q_100/resize,m_mfit,w_1000,h_1000 "Maxpeedingrods 24 Way Damper Coilover Shock Strut compatible for BMW 3 2-door Convertible (E46) 00-07 lowering kit")
.jpg?x-oss-process=image/auto-orient,1/quality,q_100/resize,m_mfit,w_1000,h_1000 "Maxpeedingrods 24 Way Damper Coilover Shock Strut compatible for BMW 3 2-door Convertible (E46) 00-07 lowering kit")
.jpg?x-oss-process=image/auto-orient,1/quality,q_100/resize,m_mfit,w_1000,h_1000 "Maxpeedingrods 24 Way Damper Coilover Shock Strut compatible for BMW 3 2-door Convertible (E46) 00-07 lowering kit")
.jpg?x-oss-process=image/auto-orient,1/quality,q_100/resize,m_mfit,w_1000,h_1000 "Maxpeedingrods 24 Way Damper Coilover Shock Strut compatible for BMW 3 2-door Convertible (E46) 00-07 lowering kit")
.jpg?x-oss-process=image/auto-orient,1/quality,q_100/resize,m_mfit,w_1000,h_1000 "Maxpeedingrods 24 Way Damper Coilover Shock Strut compatible for BMW 3 2-door Convertible (E46) 00-07 lowering kit")


.jpg)
.jpg)
.jpg)
.jpg)
DISCLAIMER: This install guidance was authorized by Antares Cam and this install guidance is for reference purposes only. Always follow professional instructions on how to set this up correctly, MaXpeedingRods is not responsible for any damage caused by inappropriate installation.
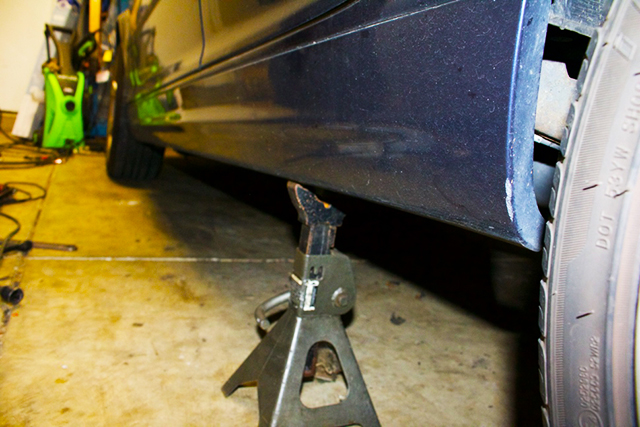
Step 1. Lift car and secure with jack stands using designated jack points
Step 2. Remove Wheels (Rear)
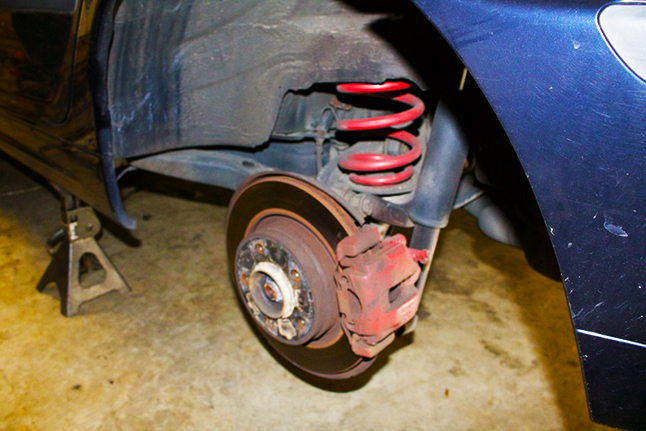
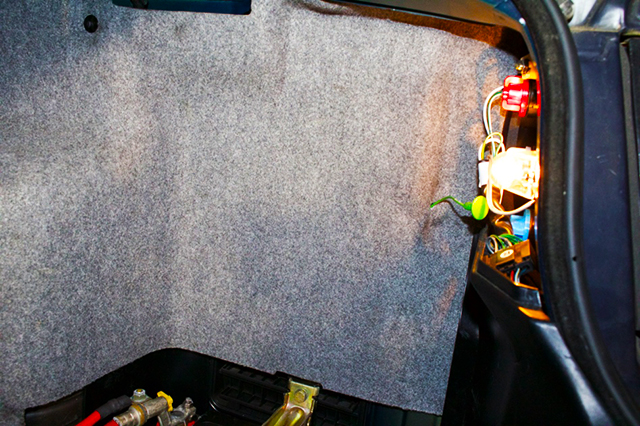
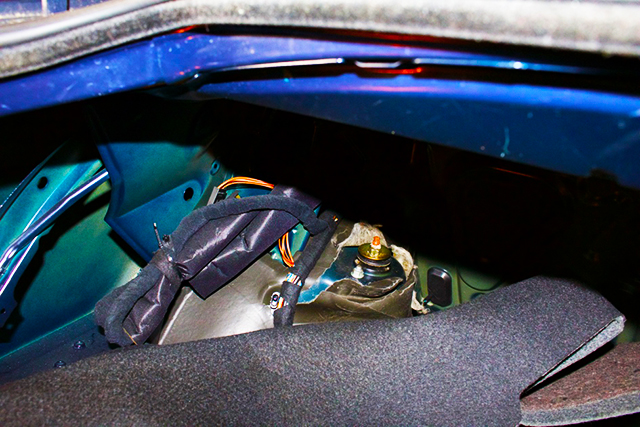
Step 3. Remove push pins to free trim from trunk to expose two 13 mm nuts securing strut
Step 4. Remove lower18mm strut bolt to free strut from hub assembly
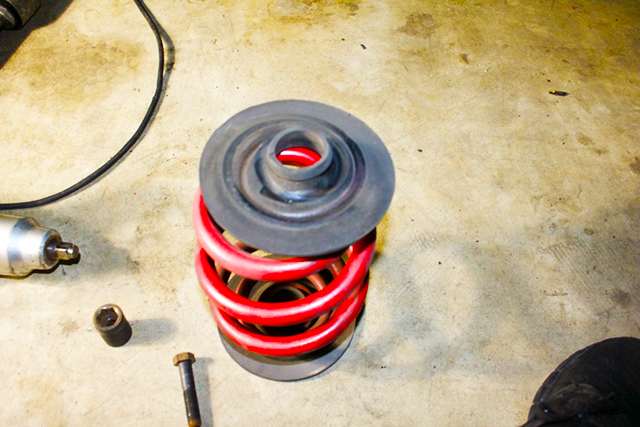
Step 5. Press down on hub assemble to remove spring
Step 6. Remove upper 13mm strut bolts and remove strut
Step 7. Repeat for opposite side and prepare struts with matching dampening settings and height as well as the spring mounts
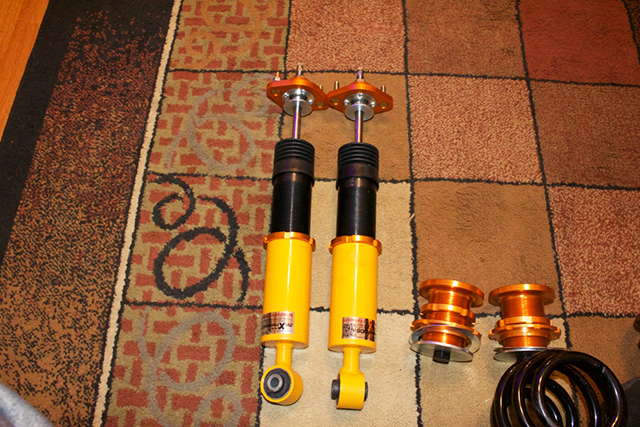
Step 8. Reuse upper spring pad and place supplied washer at the base of the spring mounting location
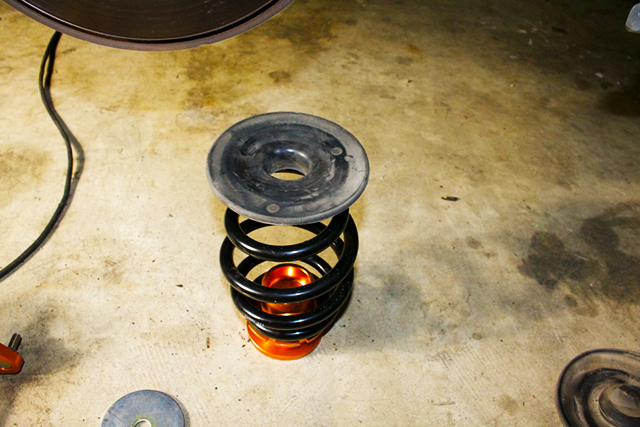

Step 9. Press down on hub assembly and insert new spring and base.
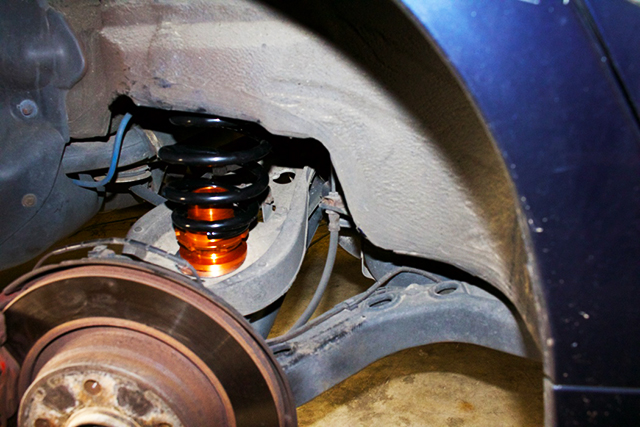
Step 10. Secure spring base with plate washer and bolt

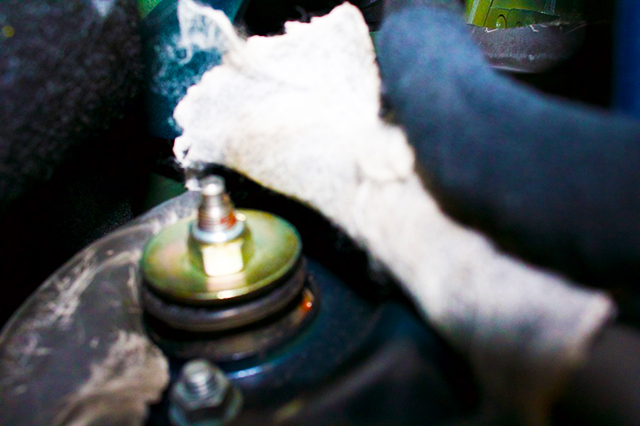
Step 11. Remember to set dampening with adjustment on top of the strut with audible clicks.
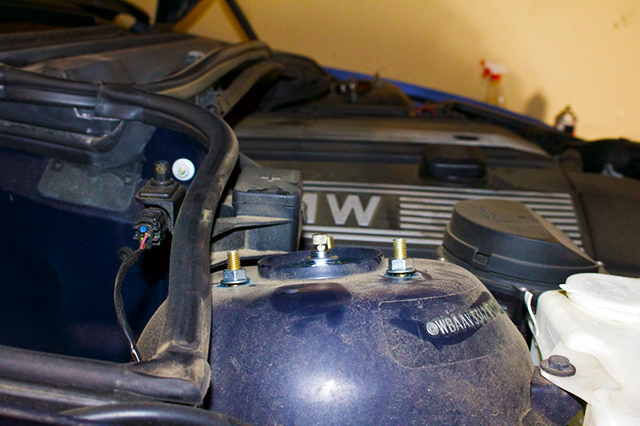
Step 12. Secure new strut with upper 13 mm bolts in mounting space in trunk and use jack to raise hub assembly to secure lower 18mm bolt
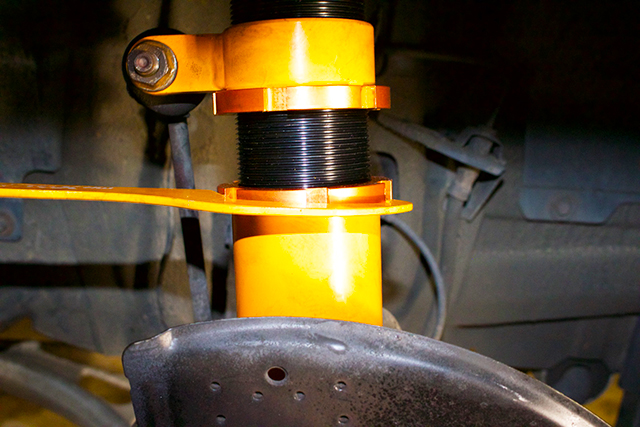
Step 13. Tighten all collars (on strut and spring base) with provided wrenches to ensure retained settings

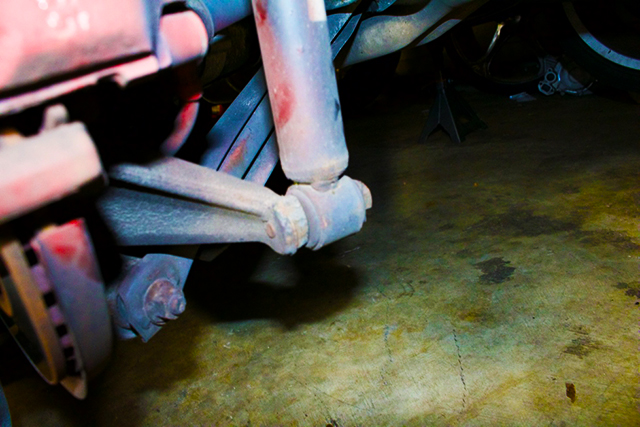
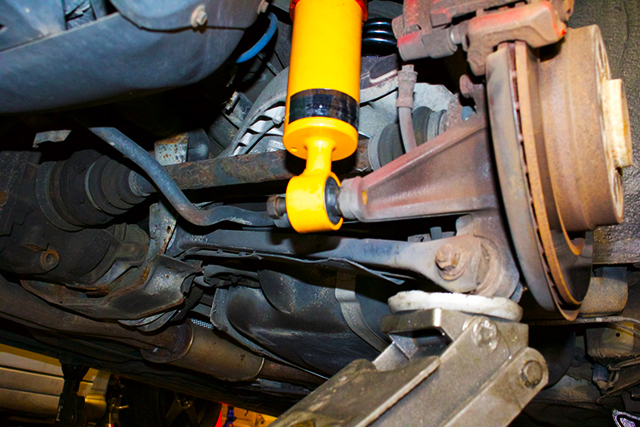
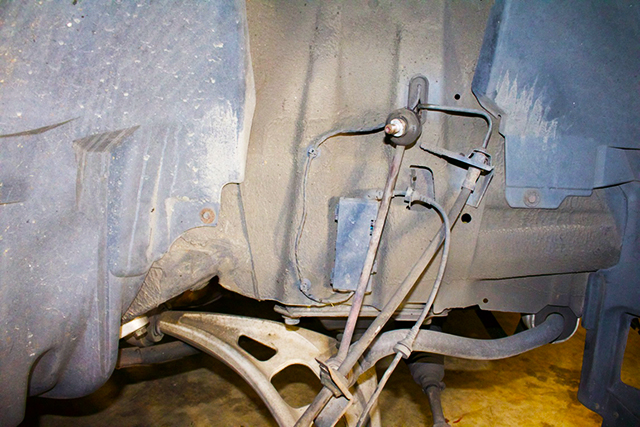
Step 14. Raise hood and remove front wheel to access strut and bolts remove sway bar link with 16mm socket
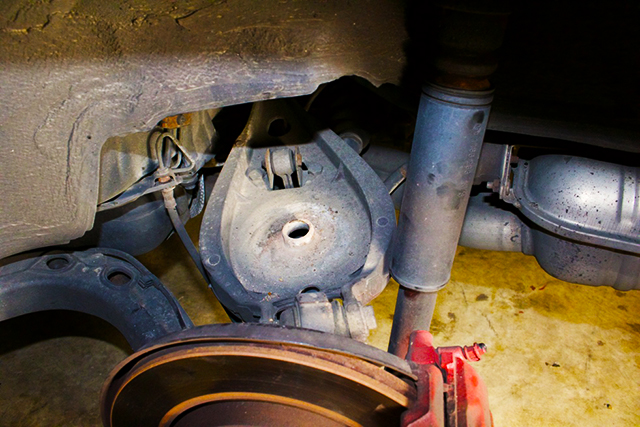
Step 15. Remove lower 18mm strut bolt to release hub assembly from strut
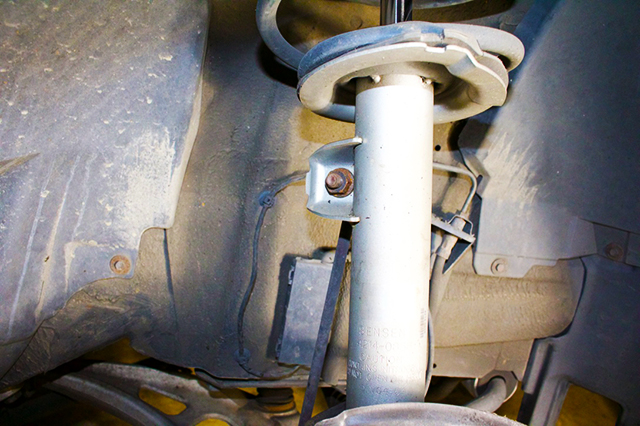
Step 16. Remove 2 upper 13 mm strut nuts to release strut and remove from the car
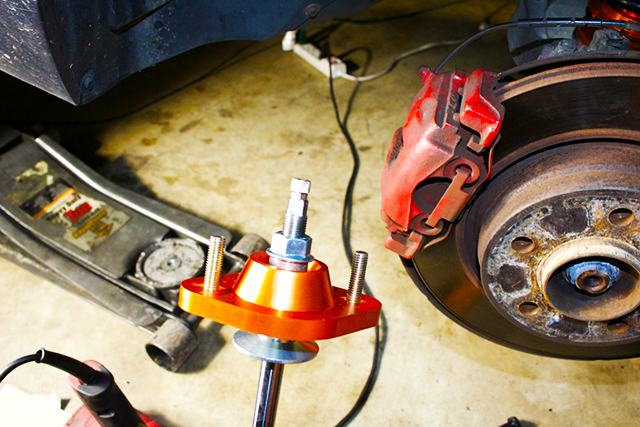
Step 17. Place new coilover in place within hub assemble and use jack to positon coilover and hub assembly back in factory position
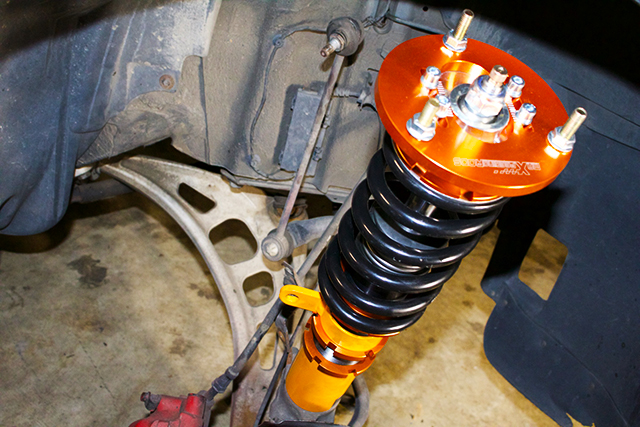
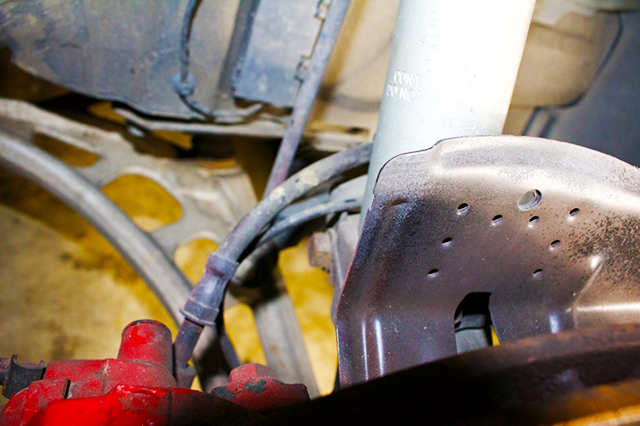
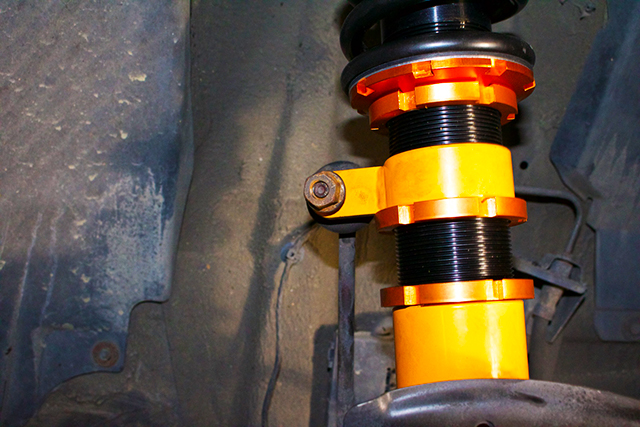
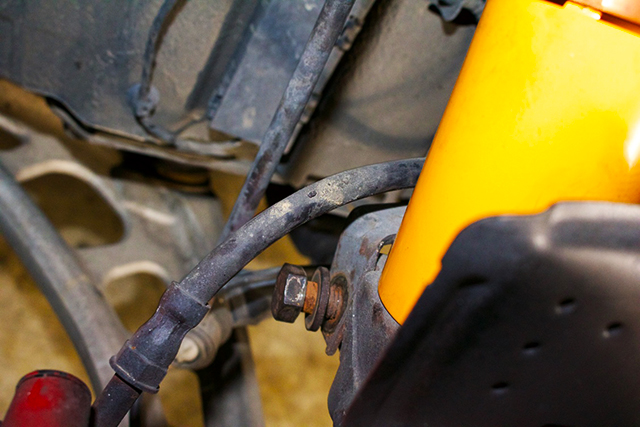
Step 18. Position sway bar link bracket in correct position on coilover and insert sway bar link securing with stock nut
Step 19. Secure hub assembly with 18mm strut bolt and tighten
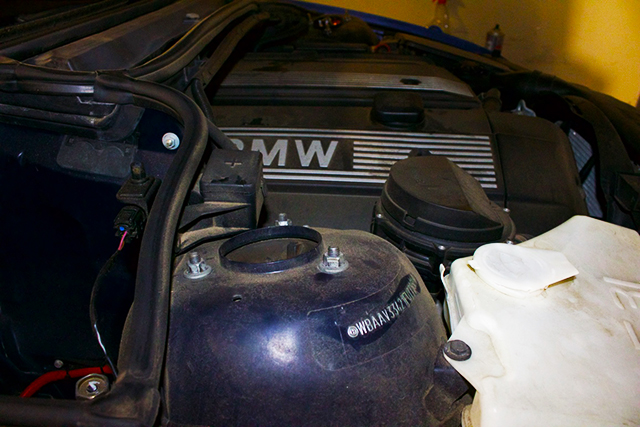
Step 20. Replace top hat 13mm nuts to secure top of coilover
Step 21. Tighten all adjustment collars, replace wheels, and lower car.
Antares Cam made a video about how he managed to get MaXpeedingRods adjustable coilovers on his BMW E46.


.png?x-oss-process=image/auto-orient,1/quality,q_100/resize,m_mfit,w_170,h_170)


.jpg?x-oss-process=image/auto-orient,1/quality,q_100/resize,m_mfit,w_350,h_350 "Heavy Duty Pair Front Control Arm Bushings compatible for BMW E46 E85 325i 330i Z4")


.jpg?x-oss-process=image/auto-orient,1/quality,q_100/resize,m_mfit,w_350,h_350 "Compatible for BMW 98-05 E46 3 Series Front Coilover Top Upper Mount Camber Plate")
.jpg?x-oss-process=image/auto-orient,1/quality,q_100/resize,m_mfit,w_350,h_350)
.jpg?x-oss-process=image/auto-orient,1/quality,q_100/resize,m_mfit,w_350,h_350)
.jpg?x-oss-process=image/auto-orient,1/quality,q_100/resize,m_mfit,w_350,h_350)

.jpg?x-oss-process=image/auto-orient,1/quality,q_100/resize,m_mfit,w_350,h_350)

.jpg?x-oss-process=image/auto-orient,1/quality,q_100/resize,m_mfit,w_350,h_350)