Categories

Street Performance
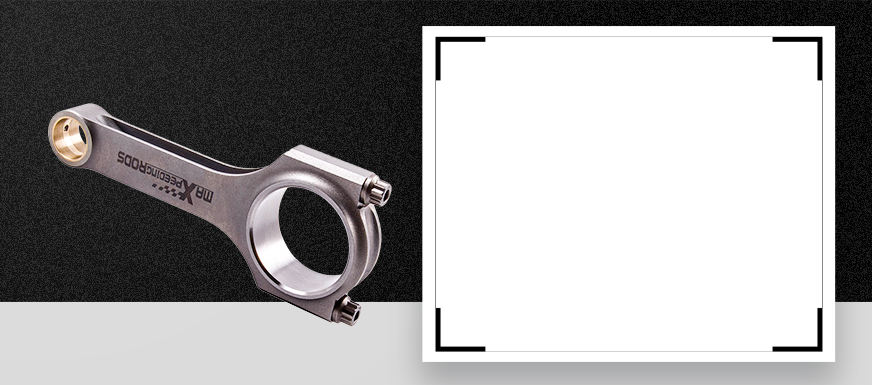
A connecting rod, also called a con rod, is the part of a piston engine which connects the piston to the crankshaft.
Maxpeedingrods street performance H-Beam connecting rods with Forged 4340 aircraft chrome moly quality steel compatible for Audi, compatible for BMW, compatible for Honda, compatible for Ford, compatible for Toyota, compatible for Fiat and more car models. Welcome to choose!
Price-
Make-
-
Honda

-
BMW

-
Ford

-
Nissan

-
Toyota

-
Subaru

-
Infiniti

-
Mazda

Connecting Rod compatible for Renault 12 Gordini 1.6L Conrods 136.5 ARP2000 Bolt
-
What is A Connecting Rod?
A connecting rod is an engine component that transfers motion from the piston to the crankshaft and functions as a lever arm. Connecting rods are commonly made from cast aluminum alloy and are designed to withstand dynamic stresses from combustion and piston movement. H-Beam Connecting Rods are a little bit heavier, stiffer, more rigid and stronger than I-Beam, so they are the priority selection for high horsepower and high cylinder pressures.
-
What Does A Connecting Rod Do?
A connecting rod links the piston to the crankshaft. The rod itself is rigid. However, on each end are pivot points with bearings where it attaches to the crank and a pin where it attaches to the piston. This allows the piston to continue to move up and down while the rod moves with the rotation of the crankshaft. The connecting rod needs to be strong enough to handle the downward force of the piston during combustion as well as the force against the crankshaft at the rod journal.
-
How To Measure Connecting Rod Length
An engine connecting rod length is determined by measuring the distance between the center points of the piston pin bore and the crankshaft journal bore.
-
How To Install Connecting Rods To Crankshaft
Once you have installed the assembled connecting rods and pistons through the engine block bores, the next step is installing the connecting rods to the crankshaft stroke sections. The connecting rod should have the matching cap and correct cap orientation for assembly. Correct size rod bearings must be installed into the cap and rod. Next, tighten the rod bolts with Plastigauge installed. Remove the the rod from the crank and and check the Plastigauge to confirm correct clearance and tolerances. Once correct, reinstall the connecting rods onto the crankshaft and tighten according to the manufacturer's connecting rod torque specs.


 (1) 213-459-3517

.jpg?x-oss-process=image/auto-orient,1/quality,q_100/resize,m_mfit,w_350,h_350)
@003.jpg?x-oss-process=image/auto-orient,1/quality,q_100/resize,m_mfit,w_350,h_350)
@003.jpg?x-oss-process=image/auto-orient,1/quality,q_100/resize,m_mfit,w_350,h_350)
@002.jpg?x-oss-process=image/auto-orient,1/quality,q_100/resize,m_mfit,w_350,h_350)
@003.jpg?x-oss-process=image/auto-orient,1/quality,q_100/resize,m_mfit,w_350,h_350)
.jpg?x-oss-process=image/auto-orient,1/quality,q_100/resize,m_mfit,w_350,h_350)
.jpg?x-oss-process=image/auto-orient,1/quality,q_100/resize,m_mfit,w_350,h_350)
.jpg?x-oss-process=image/auto-orient,1/quality,q_100/resize,m_mfit,w_350,h_350)
@001.jpg?x-oss-process=image/auto-orient,1/quality,q_100/resize,m_mfit,w_350,h_350)
.jpg?x-oss-process=image/auto-orient,1/quality,q_100/resize,m_mfit,w_350,h_350)
@003.jpg?x-oss-process=image/auto-orient,1/quality,q_100/resize,m_mfit,w_350,h_350)
@003.jpg?x-oss-process=image/auto-orient,1/quality,q_100/resize,m_mfit,w_350,h_350)
@003.jpg?x-oss-process=image/auto-orient,1/quality,q_100/resize,m_mfit,w_350,h_350)
@003.jpg?x-oss-process=image/auto-orient,1/quality,q_100/resize,m_mfit,w_350,h_350)
.jpg?x-oss-process=image/auto-orient,1/quality,q_100/resize,m_mfit,w_350,h_350)
.jpg?x-oss-process=image/auto-orient,1/quality,q_100/resize,m_mfit,w_350,h_350)
.jpg?x-oss-process=image/auto-orient,1/quality,q_100/resize,m_mfit,w_350,h_350)
.jpg?x-oss-process=image/auto-orient,1/quality,q_100/resize,m_mfit,w_350,h_350)
.jpg?x-oss-process=image/auto-orient,1/quality,q_100/resize,m_mfit,w_350,h_350)